Access new customers with Event Captain
Access new customers with Event Captain
Get in front of hundreds of event planners looking to book party vendors today


1. Apply to Be a Vendor
Submit a request to get listed as a vendor and our team will get back to you in 24 hours with the next steps. In order to be eligible to get listed you must be an event vendor or provide event services within the regions we operate.
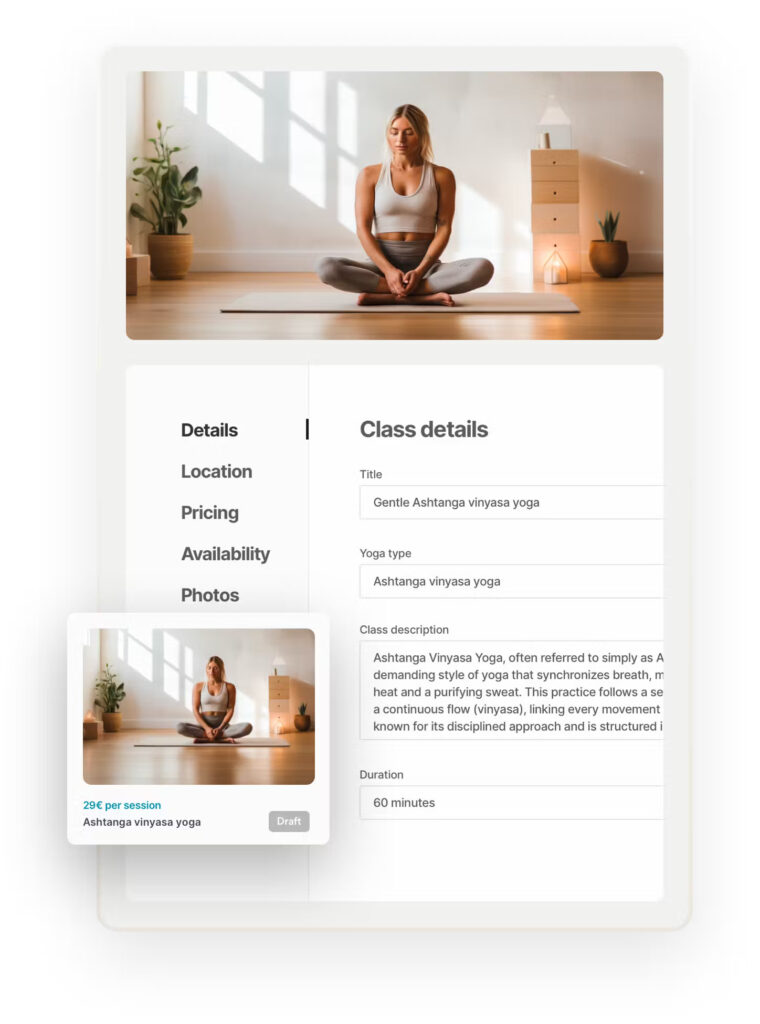
2. Create Your Listing
Our team will help you create your first listing in order to ensure the necessary details are added including photos, service area, and minimum starting prices for your products and services. We can also help import existing reviews from your website or Google My Business to your new listing pages.
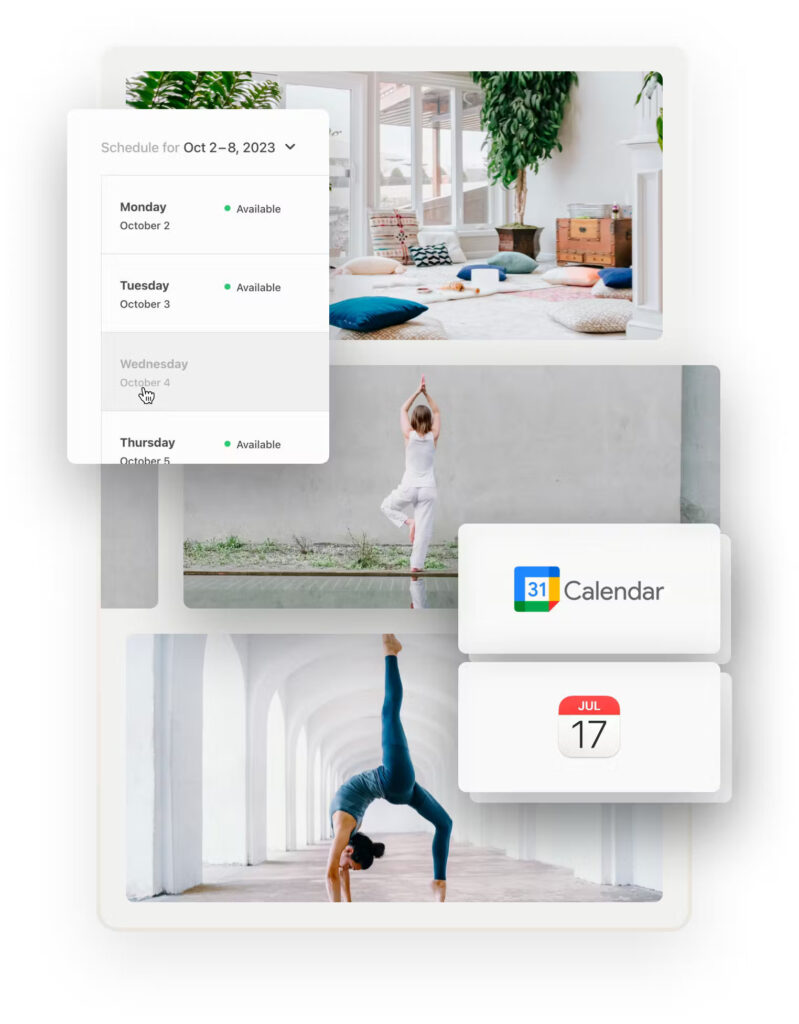
3. Receive Booking Requests
Automatically start receiving booking requests from real customers looking for your products and services. Every Event Captain vendor gets 5 free booking requests through the platform, after which each booking request is billed at $10 per lead.
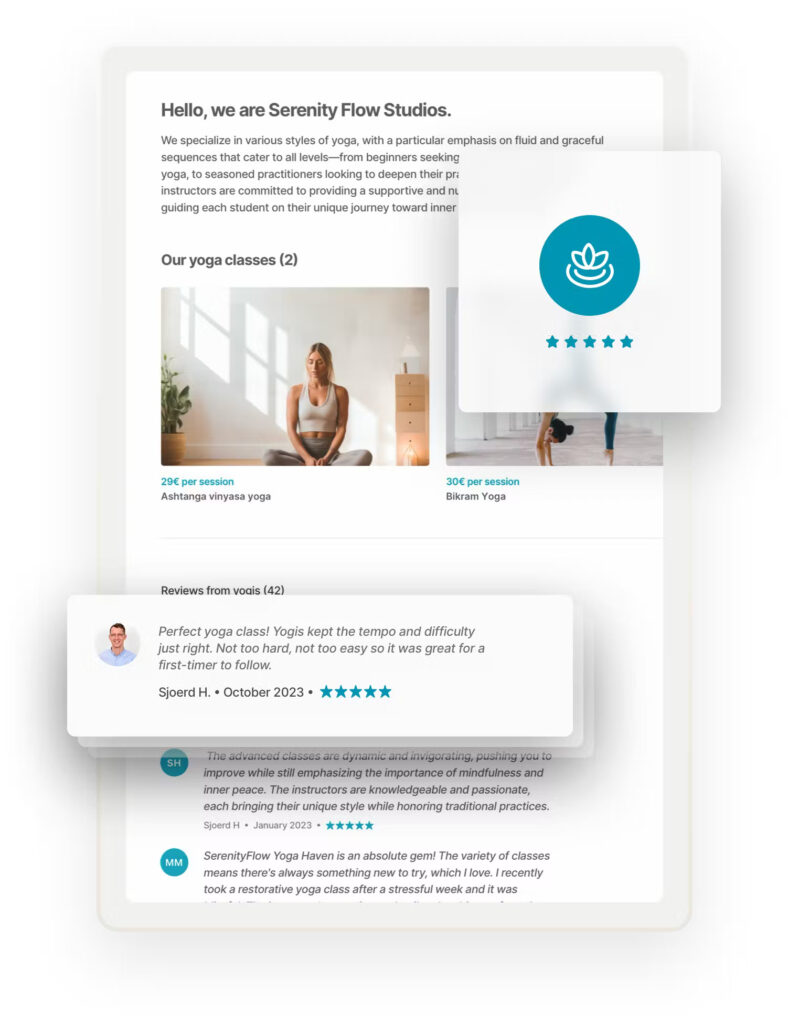
4. Collect Reviews
Get reviews from past bookings which will help boost your ranking on Event Captain. The more reviews your profile has the greater the chances of obtaining more bookings in the future.
Real Bookings
With Event Captain you only deal with actual booking requests. Customers verify their phone numbers via a SMS verification code so we ensure all booking requests have valid contact information.
Unparalleled Support
Event Captain’s team is standing by to ensure your bookings go smoothly. We are dedicated to the success of our partners who are the foundation of our platform. In the case something comes up, we’re here to help.
Getting listed on Event Captain is 100% free. Vendors get their first 5 booking requests free then there’s a charge of $10 per booking request.
Event Captain does not charge an activation fee, subscription fee, software fee, cancelation fee, contract fee, or any hidden fees.
Event Captain charges booking fees to bring value to your business and community. Here are some of the items they cover:
Advertising and marketing: Being on Event Captain puts your business in front of new customers every day.
Technology platform costs: It takes a world-wide, world-class logistics, engineering, coding, marketing, and operations team to keep the Event Captain app and website. We hire the best and expect the best from our team.
Credit card processing: If direct booking options are used, Event Captain covers credit card processing fees associated with bookings.
Once you receive a booking request you can follow up with the client directly and agree on payment terms.
Submit a request to become a vendor or email hello@eventcaptain.co
After your profile has been created, you can edit and post listings inside of your vendor dashboard.
Yes! Vendors on Event Captain have one account, and separate listings for each service/package, just like on Airbnb or Amazon. This enables customers to book your service instantly on Event Captain instead of having to call or email you to get a quote (which adds a lot of friction and leads to less bookings).
When a vendor receives a booking request, they will get an email notification with information on the booking request. Vendors can then follow up directly with customers to complete their booking request.
Feel free to email us at hello@eventcaptain.co.